After much debate and discussion I built my first set of bike lights (The AMPPuller 2000 ).
The decision to build rather than buy, was due to my need for a 'really good beam' to get me home during winter
commutes (see the 70kph story) from North Ryde to Palm Beach.
Commercial sets didn't seem to offer either enough light or sufficient power at a price point I could afford.
Hence my choice to brew my own set.
My components criteria was based on price, parts availablilty, and the need for apporx 2hr of light to get me home
after work, including several secions of highspeed unlit road sections, where I compete with cars for
road space, and am travelling fast enough that I need to see "a log way" in front of me, often through the glare of
on-comming cars on high beam.
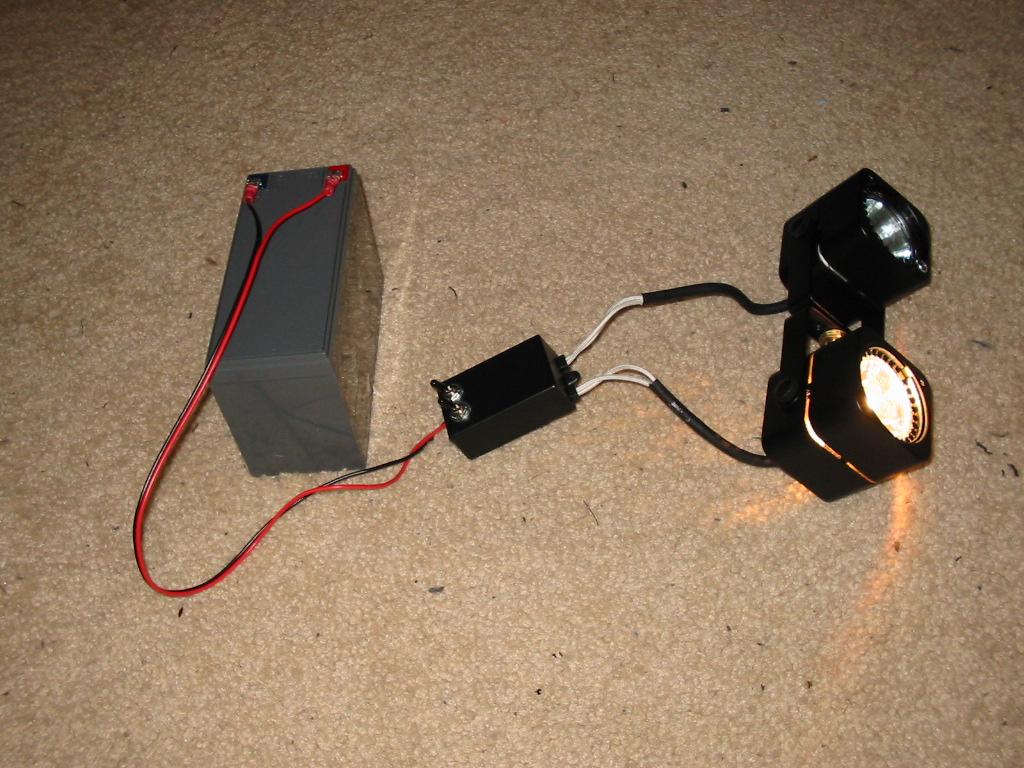
To this end I have opted for a 12v system powering one of two Halogen globes. (20W 36 degree and a 50W 12 degree spot).
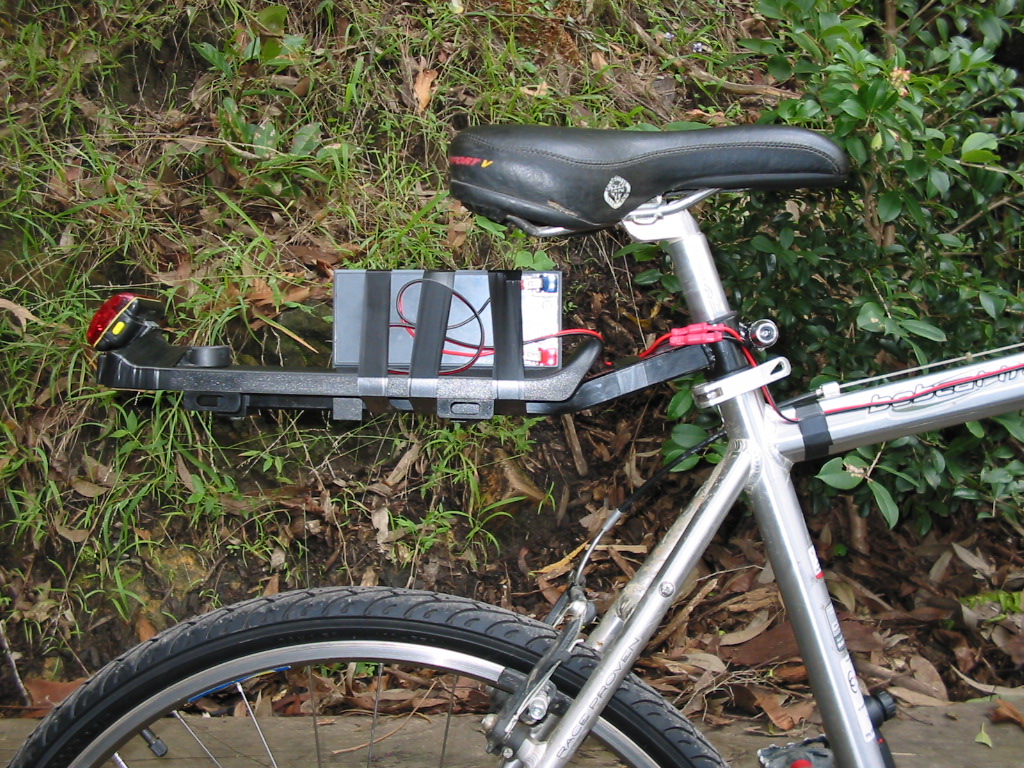
A 7Ah 12v SLA battery mounted on a sturdy rack and power and selection switches housed up front, and
wired so that only one globe shall be lit at any time.
The results have spoken for themselves.
Over the past winter, these lights have served me well, not only on my commute but on numerouse night trail adventures as well.
Touch wood, I have had no problems with the setup what-so-ever to date !.
The Pros for this systems are:
- Relativley inexpensive.
- Parts avalibility.
- Robust. (nearly one year old and zero failures)
- Easy to charge ... just plug the bike into the charger in the garage when I get home (se con below)
- Talking point. It's amazing how many people stop to comment and ask questions !
| Costs (Approx). |
| 7Ah 12V SLA battery | $40 | Dick Smith Electronics |
| charger | $30 | Jaycar |
| lamp housings | $14 ea | Bunnings |
| globes | $6 ea | Bunnings |
| switches and mounting hardware | $10 | Dick Smith Electronics |
| bike rack | $20 | Big W |
| total approx | $140 .... | |
This may seem expensive compared to comercial systems, but take note!
I have 50W of lighting... not some wimpy combination of 5W, 12W or 15W !!!
I also need (read, demand) a minimum of 2hrs. (It takes me about 1:45 to get home)
Cons ...
- Weight !!!! (the battery and rack combined weigh 4Kg) ...
- Asthetics Although the lights look OK ... the battery and rack look ugly !
- Have to remove the battery (and rack) to use my charger at work...
Battery and Rack
 |
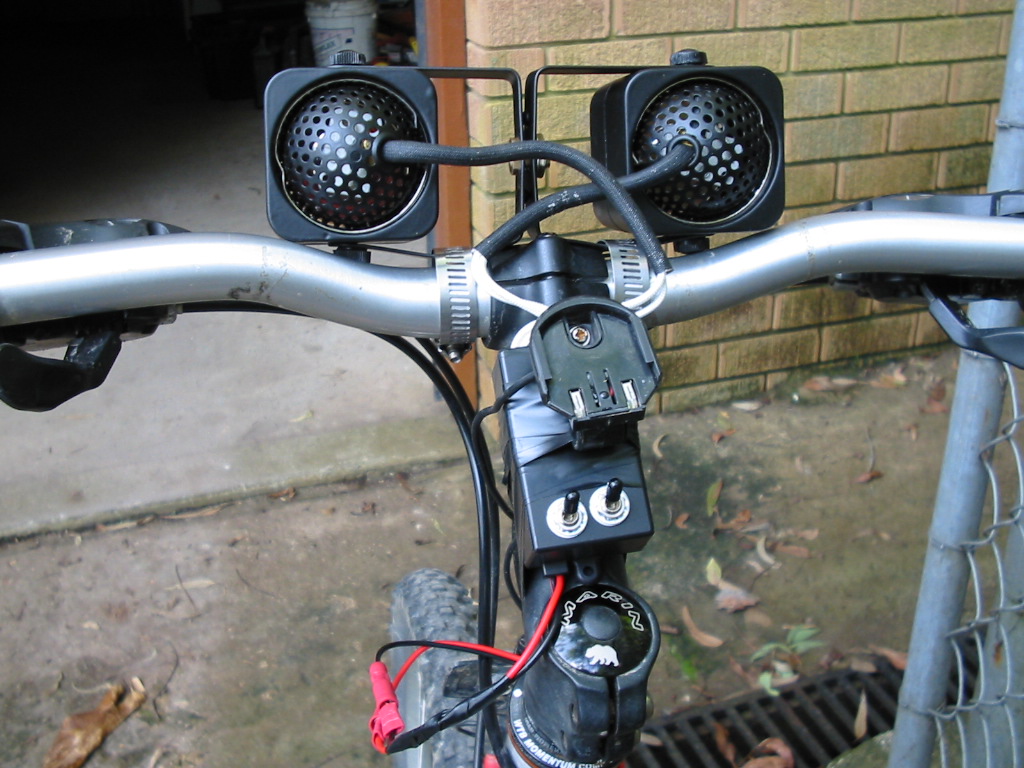
Front
.JPG) |
Switches
 |
Testing
 |
Assembly
As mentioned before, I have had absolutley 0, none, Zip, zero, nada, failurs with my system to date.
I put this down to :
- Simplicity of construction.
- One battery (no messy battery holders or multiple connectors)
- All connections are 'crimped' male and female spade connectors (no soldering [oh.. except at the switches])
- Main termination is via screw type termination block (again no solder joints to fail)
One thing to watch out for though is that the housings are not desgned for vibration or knocks.
In normal (houshold) use, the globe is held in place by a spring clip. For use on the bike however,
I drilled a small hole in each corner of the face, and screwed a
'locking' washer in place with a small self tapping screw.
The locking washers are just normal washers, which I bent the rim
over to keep the spring clip in place. These work a treat !
Another hint.
All the systems I've seen where joins have been made using solder, have failed at some point.
For my system I adopted using fairly heavy duty cabling (after all I am pumping 5A) and good solid crimp type connectors
wherever possible. The only solder joints in the system are to the switches themselves. (This will be remedied with suitable
spade sockets soon).
Conclusion
After running these lights for a while now, I am considering a MkII version.
Pretty much the same with following major changes.
- bolt the lamp housing together to take up less handlebar space
- move the hi-low switch close to the gear triggers
- feed 3Vdc converted power to the tail lights (LEDs)
- possibly replace the 20w with a luxeon LED and use a smaller battery
- (not really a MkII mod, but move the battery from the rack to a bottle cage 'upright tray'
Stay tuned for the MkII version !
Who needs a MkII version !!!
Nearing the end of 2005 and the MkI is still going strong ...
I have however, done away with the rack,
and simply ride now with the battery in my backpack.